

How to Retouch Landscape Photos: A Deep Down Guide
by Delwar Hussain / Last Update: September 18, 2023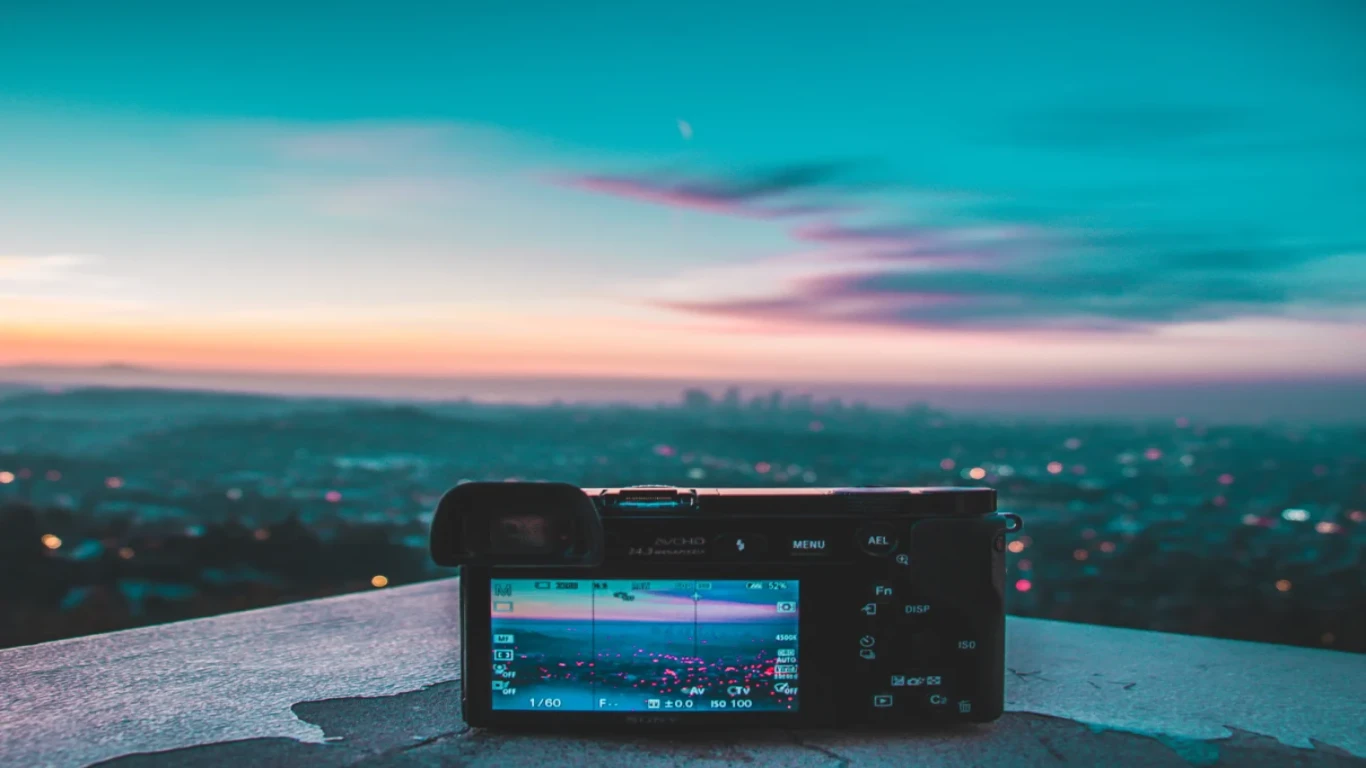
Landscape photography is an art that captivates us with its stunning beauty and grandeur. However, capturing the perfect shot is just the beginning. The real magic happens during the post-processing stage, where a photographer can enhance the image and bring it to life. That’s why in this article, we will explore the secrets of “How to Retouch Landscape Photos” and learn the techniques and tools required to transform your landscape shots into breathtaking masterpieces. Whether you are a professional photographer or a beginner, get ready to be inspired and take your landscape photography skills to the next level!
Preparing Your Landscape Photos for Retouching
Before diving into the world of landscape photo retouching, it’s essential to prepare your images properly to achieve the best possible results. In this section, we will cover three key topics: tips for taking great landscape photos, how to choose the best photos for retouching, and how to organize your photo editing workflow.
Tips for taking great landscape photos
Firstly, when it comes to taking great landscape photos, there are a few key things to keep in mind. Lighting is critical in photography, and for landscapes, it’s often best to shoot during the golden hour – the hour after sunrise and before sunset – when the light is soft and warm.
Also, consider the weather conditions, such as the cloud cover, to create interesting textures and colors in your images. Another tip is to incorporate foreground elements, such as rocks, trees, or water, to add depth and perspective to your photos.
How to choose the best photos for retouching
Once you have a selection of landscape photos, it’s time to choose the best ones for retouching. This can be a daunting task, but there are a few key things to look for.
Firstly, choose photos that have a clear focal point or subject. This could be a mountain peak, a tree, or a body of water.
After that, look for photos that have good composition, balance, and symmetry. Finally, consider the image quality, such as sharpness, exposure, and color accuracy.
How to organize your photo editing workflow
Now that you have your photos selected, it’s time to organize your photo editing workflow. It’s essential to keep your images organized, so you don’t waste time searching for specific files. Start by creating a folder for your landscape photos, and within that folder, create subfolders for each shoot or location. This will help you easily find and access the images you want to edit. You can also use photo editing software to add tags, ratings, or keywords to your images to help with searching and sorting.
Basic Retouching Techniques for Landscape Photos
Now that you’ve selected your landscape photos and organized your editing workflow, it’s time to start retouching. In this section, we will cover the basic and advanced techniques for retouching landscape photos, as well as tips for creating a natural-looking final image.
Cropping and straightening
Let’s start with the basics. Cropping, adjusting exposure, and correcting the white balance are fundamental techniques that can significantly improve your landscape photos. Cropping helps to eliminate unwanted elements in the frame and create a better composition. Adjusting exposure and correcting the white balance can help to fix over or underexposed images and remove color casts caused by different lighting conditions.
Adjusting exposure and contrast
Moving onto more advanced techniques, removing unwanted objects, adjusting colors, and enhancing details are all great ways to take your landscape photos to the next level. Unwanted objects can be distracting and take away from the beauty of the landscape, but with advanced editing tools such as content-aware fill or cloning, they can be removed seamlessly. Adjusting colors can help to create a specific mood or atmosphere in your photos, while enhancing details such as textures or reflections can add depth and dimension to your images.
Sharpening and noise reduction
While it’s tempting to go overboard with editing, it’s important to remember that the goal of landscape photography is to capture the beauty of nature. Therefore, it’s essential to create a final image that looks natural and not overly processed. To achieve this, avoid using too many filters or presets and instead use a light touch when editing. Also, keep in mind the original colors and lighting conditions when making adjustments, so the final image looks realistic and true to life.
Advanced Retouching Techniques for Landscape Photos
In the previous section, we covered the basics of retouching landscape photos. Now, let’s dive into more advanced techniques to take your photos to the next level. In this section, we will cover removing unwanted objects, adjusting colors and saturation, and enhancing detail and texture.
Removing unwanted objects
Removing unwanted objects is a common task in landscape photography. Sometimes, a beautiful landscape may have a distracting object in the foreground or background. To remove such objects, you can use tools like the clone stamp, healing brush, or the content-aware fill tool in Adobe Photoshop. These tools enable you to replace unwanted objects with pixels from nearby areas, making the edits seamless and unnoticeable.
Adjusting colors and saturation
Adjusting colors and saturation can be a great way to enhance the mood or atmosphere of a landscape photo. This is especially useful if the original colors are dull or if the photo was taken in poor lighting conditions. You can use the color balance or hue/saturation adjustment tools to make selective adjustments to specific color ranges or the overall image. Increasing the saturation of the colors in the photo can also make them pop and give the image a more vibrant feel.
Enhancing detail and texture
Enhancing detail and texture is another powerful technique to make your landscape photos more compelling. Details such as clouds, mountains, or foliage can add depth and interest to your image. You can use the sharpening tool or the clarity slider to enhance the details and make them more visible. Additionally, you can use the dodge and burn tool to selectively lighten or darken specific areas of the image, further enhancing the detail and texture.
Best Practices for Landscape Photo Editing
In this final section, we will discuss some best practices for landscape photo editing. These tips will help you avoid common mistakes, optimize your workflow, and create stunning images.
Tips for avoiding common mistakes
Firstly, it’s important to avoid common mistakes that can ruin your landscape photos. One common mistake is over-editing your photos. It’s easy to get carried away with editing and make the image look unnatural. Another mistake is applying the same edits to all your photos, even if they don’t need it. Each photo has its unique characteristics, so it’s important to analyze each image and make selective adjustments accordingly.
Workflow optimization tips
Optimizing your workflow can save you time and make the editing process more efficient. Some tips to optimize your workflow include using presets to apply frequently used settings, using batch processing to apply the same edits to multiple photos, and organizing your files and folders to keep track of your work.
Studying Examples of successful landscape photo retouching
Studying examples of successful landscape photo retouching can give you inspiration and help you develop your own style. Look for examples from professional photographers and analyze their techniques and workflows. Experiment with different styles and techniques to find what works best for you.
Key Takeaways
- Firstly, it’s important to prepare your photos properly before starting the retouching process. This involves taking great photos, choosing the best ones for retouching, and organizing your workflow.
- Secondly, when it comes to retouching landscape photos, there are both basic and advanced techniques that you can use. Basic techniques such as cropping, adjusting exposure, and color correction can make a big difference in improving your images. Advanced techniques like removing unwanted objects, adjusting colors and saturation, and enhancing detail and texture can take your photos to the next level.
- Thirdly, it’s important to use these techniques with restraint to avoid over-editing and keeping the final image looking natural and realistic.
- Fourthly, optimizing your workflow can save you time and make the editing process more efficient. Using presets, batch processing, and organizing your files and folders are some ways to optimize your workflow.
- Lastly, studying examples of successful landscape photo retouching and developing your own style can help you create stunning images and stand out from the crowd.
Overall, retouching landscape photos requires both technical skills and artistic vision. By following these key takeaways, you can create stunning images that capture the beauty of nature and showcase your skills as a photographer.
Recommend Reading
Join The Discussion

Article by
Delwar Hussain
Image Processing Expert, Photography Enthusiast, Blogger, COO at Cutting Edger
Over 18 years of experience in Graphic Design, Image Editing, 3D Modeling/Rendering and Digital Products, I have got opportunity to work with different local and multi-national companies, among of them GraphicPeople, Modern Herbal Group and British Broad Casting (BBC) can be highlighted. During my career I have worked with Coca-Cola, Turkish Airlines, Singapore British American Tobacco, Dell, Pfizer Pharmaceuticals, Indeed.com, International Hotel Group (IHG), Santander Bank, Quad Inc. Adidas, Nike, Dove etc. Having 18 years of experience and being a Co-Founder and COO of Cutting Edger is providing Post Production Image Editing, 3D Modeling and Rendering, Desktop Publishing and Digital Products like Web Design and Development, Software Development, etc.