
The Ultimate Guide to Photo Retouching for Beginners
by Delwar Hussain / Last Update: September 18, 2023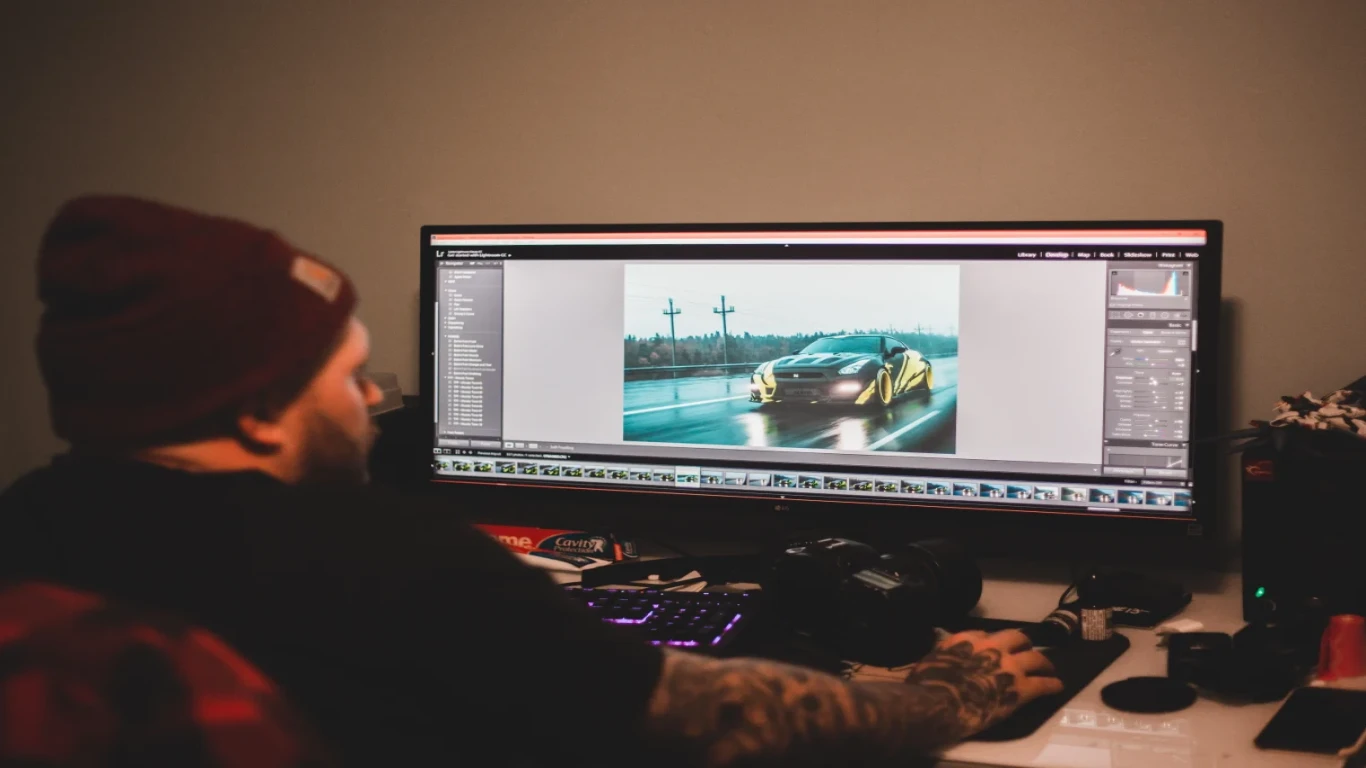
Have you ever looked at a photo and thought it was almost perfect, but there was just one small imperfection that ruined the entire image? Maybe it was a blemish on someone’s face or a distracting object in the background. Whatever the issue may be, photo retouching can help fix it and create the perfect image.
Retouching is an essential part of the photo editing process. It allows you to fix imperfections, adjust color, and enhance the overall image. However, there are some common misconceptions about photo retouching that may prevent beginners from taking advantage of its benefits.
Some people believe that retouching is only for professional photographers or that it’s too complicated for beginners to learn. Others think that retouching means altering reality and creating unrealistic images. In reality, photo retouching can be simple and easy to learn, and it’s all about enhancing the natural beauty of the image rather than completely changing it.
In this ultimate guide to photo retouching for beginners, we’ll explore the basics of retouching, common misconceptions, and helpful tips and tricks to get you started. Whether you’re an aspiring photographer or just looking to enhance your personal photos, this guide will provide you with the knowledge and skills to take your images to the next level.
Understanding the Basics of Photo Retouching
Photo retouching is the process of enhancing or correcting a photo by removing or adding elements, adjusting colors, contrast, sharpness, or other aspects of an image. It’s a powerful technique that allows you to transform an ordinary photo into an extraordinary one.
There are different types of photo retouching that you can use depending on the purpose of the photo. Some common types of photo retouching include:
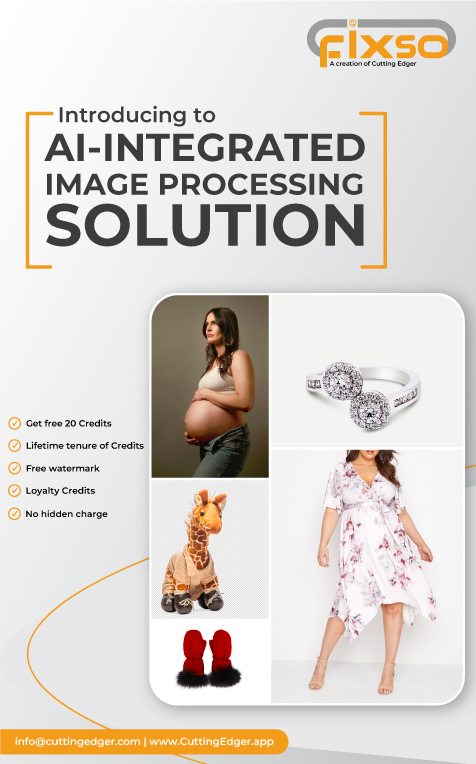
- Portrait retouching: This type of retouching is used to improve the appearance of a person in a photo by removing blemishes, wrinkles, and other imperfections.
- Product retouching: This type of retouching is used to make products look more appealing by removing scratches, dust, or other defects.
- Landscape retouching: This type of retouching is used to enhance the colors, contrast, and sharpness of a landscape photo to make it more vibrant and vivid.
- Restoration retouching: This type of retouching is used to restore old or damaged photos by removing scratches, tears, or other imperfections.
To achieve professional-level photo retouching, you’ll need the right tools and software. Some of the most popular software for photo retouching include Adobe Photoshop, Lightroom, GIMP, and Affinity Photo. These software programs provide a range of tools and features that allow you to adjust colors, remove imperfections, and enhance the overall quality of your photos.
Some of the most common tools used in photo retouching include the clone stamp tool, healing brush tool, and the dodge and burn tool. These tools allow you to remove unwanted elements, smooth out skin tones, and adjust the exposure of your photos.
Photo retouching is a powerful technique that can transform an ordinary photo into an extraordinary one. With the right tools and software, anyone can learn how to master the art of photo retouching and create stunning images.
Photo Retouching Techniques for Beginners
As a beginner in photo retouching, there are several techniques you can use to enhance your photos and make them stand out. Here are some of the most common techniques for photo retouching:
- Cropping and resizing images: Cropping is the process of removing unwanted parts of a photo to focus on the main subject. Resizing is the process of changing the size of a photo without altering its proportions. These techniques can be used to create a more balanced composition and improve the overall impact of your photo.
- Adjusting brightness and contrast: Adjusting the brightness and contrast of a photo can make it look more vibrant and lively. Increasing the brightness can bring out details in the shadows, while increasing the contrast can make the colors look more vivid and intense.
- Color correction and color grading: Color correction involves adjusting the colors of a photo to make them more accurate and natural. Color grading is the process of creating a specific color style or mood for your photo. Both techniques can be used to create a unique look for your photos and enhance their visual appeal.
- Removing blemishes and imperfections: Removing blemishes, wrinkles, and other imperfections from a photo can make it look more polished and professional. The healing brush tool and the clone stamp tool are two common tools used for this technique.
- Enhancing details and sharpness: Enhancing the details and sharpness of a photo can make it look more crisp and clear. The sharpening tool is often used to achieve this effect.
It’s important to remember that photo retouching is a subjective art form, and there’s no right or wrong way to do it. Experiment with different techniques and tools to find what works best for you and the style of photography you’re interested in. And don’t be afraid to get creative and try new things – photo retouching is all about pushing the boundaries and exploring new possibilities.
Advanced Photo Retouching Techniques
Advanced photo retouching techniques go beyond the basics and involve more complex and sophisticated techniques to manipulate and enhance images. Here are some of the most common advanced photo retouching techniques:
- Background removal and replacement: This technique involves removing the background of an image and replacing it with a new one. This technique is commonly used in product photography or portrait photography where the background distracts from the subject.
- Object removal and manipulation: This technique involves removing or adding objects to a photo to create a more desirable composition. For example, removing a distracting object from the background or adding a missing object to a scene.
- Skin retouching and smoothing: This technique involves retouching skin to remove blemishes, acne, or wrinkles. It also involves smoothing the skin tone to create a more even complexion.
- Teeth whitening and eye brightening: This technique involves enhancing the brightness and whiteness of teeth and eyes to create a more youthful and radiant look.
- Adding or removing makeup: This technique involves adding or removing makeup to a photo to create a specific look or style. It can also be used to correct makeup mistakes or enhance natural beauty.
Advanced photo retouching requires a high degree of skill and attention to detail. It also requires the use of advanced software and tools such as Adobe Photoshop or Lightroom. These tools provide advanced features such as layer masks, blend modes, and adjustment layers to create seamless and realistic effects.
Tips and Tricks for Effective Photo Retouching
Effective photo retouching requires not only knowledge of techniques but also a good workflow and attention to detail. Here are some tips and tricks for effective photo retouching:
- Working with layers and masks: Using layers and masks is essential for effective photo retouching. Layers allow you to work on different parts of the photo separately, while masks allow you to control the transparency and visibility of different parts of the layers. By using layers and masks, you can work non-destructively and make changes to your photo without permanently altering the original image.
- Non-destructive editing techniques: Non-destructive editing techniques allow you to make changes to your photo without altering the original image. This can include using adjustment layers, smart objects, and layer masks. By using non-destructive editing techniques, you can easily make changes to your photo without the risk of losing any information.
- Using presets and filters: Presets and filters can save you time and effort by providing a pre-set adjustment to your photo. These can be used to quickly apply color corrections, contrast adjustments, and other effects to your photo. However, it’s important to use presets and filters with caution and adjust them to fit your specific photo.
- Batch processing for efficiency: Batch processing is the process of applying the same edits to multiple photos at once. This can be a huge time-saver if you have a large number of photos to edit. By using batch processing, you can apply the same edits to multiple photos, such as resizing, cropping, and color correction.
- Customizing shortcuts and hotkeys: Customizing shortcuts and hotkeys can help you work more efficiently and quickly. By customizing your workflow, you can save time and effort by accessing your most commonly used tools and functions with just a few keystrokes.
Common Mistakes to Avoid in Photo Retouching
Photo retouching can be a complex process, and it’s easy to make mistakes that can ruin your final result. Here are some common mistakes to avoid in photo retouching:
- Over-retouching and unnatural results: One of the most common mistakes in photo retouching is over-retouching, which can lead to an unnatural appearance. This can include overly-smooth skin, unrealistic brightness or contrast, and overly-saturated colors. It’s important to remember that subtle adjustments can often have a greater impact than heavy-handed retouching.
- Inconsistent skin tones and textures: Another common mistake is creating inconsistencies in skin tones and textures. This can happen when skin is retouched too heavily or when different parts of the skin are retouched with different techniques. To avoid this, it’s important to take a holistic approach to skin retouching and maintain consistency throughout the image.
- Incorrect color balance and exposure: Adjusting color balance and exposure is an important part of photo retouching, but it’s important to do so correctly. Incorrect adjustments can lead to unnatural colors and exposure, which can make the image look fake. It’s important to use a calibrated monitor and to work with color and exposure adjustments in a non-destructive manner.
- Poor blending and compositing: Blending and compositing are important techniques for combining multiple images or elements into a cohesive whole. Poor blending can lead to visible seams or unnatural-looking composite images. To avoid this, it’s important to pay close attention to detail and use techniques such as layer masks and adjustment layers to blend elements seamlessly.
- Ignoring copyright and ethical considerations: Finally, it’s important to remember that photos are often subject to copyright and ethical considerations. Using someone else’s photo without permission or manipulating an image in a way that misrepresents reality can lead to legal or ethical issues. Always be mindful of the rights and considerations of others when working with photos.
Best Practices for Photo Retouching Workflow
Creating an efficient photo retouching workflow can help you save time and produce higher quality results. Here are some best practices to consider when setting up your photo retouching workflow:
- Setting up your workspace and preferences: Configuring your workspace and preferences can help you work more efficiently. This includes customizing keyboard shortcuts, creating workspace layouts that suit your needs, and setting up color profiles that match your output requirements.
- Organizing files and backups: Keeping your files organized and backed up is critical to maintaining an efficient workflow. This includes using consistent naming conventions, creating a logical folder structure, and backing up your files to prevent data loss.
- Communication with clients and collaborators: Communication is key when working with clients or collaborating with other professionals. This includes setting clear expectations and timelines, discussing retouching preferences and goals, and providing updates on progress.
- Time management and prioritization: Managing your time effectively can help you work more efficiently and reduce stress. This includes setting realistic deadlines, prioritizing tasks based on their importance and urgency, and avoiding multitasking.
- Continuous learning and improvement: Photo retouching is a constantly evolving field, so it’s important to stay up-to-date on the latest techniques and technologies. This includes attending workshops or training sessions, experimenting with new tools and techniques, and seeking feedback from clients or colleagues.
By incorporating these best practices into your photo retouching workflow, you can streamline your process, produce higher quality results, and achieve greater satisfaction from your work.
Case Studies and Examples of Photo Retouching
Looking at case studies and examples of photo retouching can be a great way to learn new techniques and gain inspiration for your own work. Here are some types of examples to consider:
- Before and after comparisons: One of the most effective ways to showcase the impact of photo retouching is through before and after comparisons. This allows clients or colleagues to see the tangible results of your work.
- Step-by-step tutorials: Tutorials that walk through the process of photo retouching can be valuable resources for beginners and experts alike. These tutorials can include detailed explanations of specific techniques, as well as tips and tricks for achieving optimal results.
- Expert tips and advice: Learning from experienced professionals can help you refine your own techniques and improve your workflow. Expert tips and advice can include information on new tools or software, best practices for specific types of retouching, and advice on how to achieve specific looks or effects.
- Client testimonials and feedback: Client testimonials and feedback can help you understand the impact of your work on their business or personal goals. This feedback can also provide valuable insights into how you can improve your workflow or techniques to better meet client needs.
Some examples of photo retouching case studies might include a photographer who specializes in beauty or fashion photography, showcasing how they use retouching techniques to enhance their subjects’ appearance while still maintaining a natural look. Another example might be a real estate photographer who uses retouching techniques to highlight the best features of a property and make it more appealing to potential buyers.
Future of Photo Retouching and Industry Trends
The field of photo retouching is constantly evolving, and there are several trends and technologies that are shaping its future. Here are some of the key industry trends to watch out for:
- AI and machine learning in photo retouching: Advances in artificial intelligence and machine learning are revolutionizing the field of photo retouching. This includes automated tools for facial recognition, skin smoothing, and blemish removal, as well as AI-powered tools for color grading and image enhancement.
- Virtual and augmented reality applications: Virtual and augmented reality technologies are opening up new opportunities for photo retouching. This includes using VR and AR to preview and adjust lighting and camera angles, as well as creating immersive experiences that incorporate retouched images and graphics.
- Ethics and diversity in visual representation: As the importance of diversity and inclusivity in visual representation becomes more widely recognized, there is a growing demand for photo retouching that accurately represents diverse groups of people. This includes using retouching techniques to enhance natural features rather than conforming to traditional beauty standards, and avoiding over-retouching that creates unrealistic or harmful representations of people.
- Emerging niches and opportunities in photo retouching: The growth of social media, e-commerce, and online advertising has created new opportunities for photo retouching in areas such as influencer marketing, product photography, and online fashion and beauty retail. As these industries continue to evolve, there will be a growing demand for skilled photo retouching professionals who can create high-quality, engaging visual content.
Finally
Photo retouching is an essential skill for anyone interested in photography or visual design. Whether you’re a professional photographer, a graphic designer, or a social media influencer, knowing how to retouch images can help you create more compelling, impactful visuals that resonate with your audience.
Throughout this guide, we’ve covered the basics of photo retouching for beginners, including the types of retouching, software and tools, and techniques for beginners and advanced users. We’ve also explored tips and tricks for effective workflow, common mistakes to avoid, case studies and examples, and future industry trends to watch out for.
Recommend Reading
Join The Discussion

Article by
Delwar Hussain
Image Processing Expert, Photography Enthusiast, Blogger, COO at Cutting Edger
Over 18 years of experience in Graphic Design, Image Editing, 3D Modeling/Rendering and Digital Products, I have got opportunity to work with different local and multi-national companies, among of them GraphicPeople, Modern Herbal Group and British Broad Casting (BBC) can be highlighted. During my career I have worked with Coca-Cola, Turkish Airlines, Singapore British American Tobacco, Dell, Pfizer Pharmaceuticals, Indeed.com, International Hotel Group (IHG), Santander Bank, Quad Inc. Adidas, Nike, Dove etc. Having 18 years of experience and being a Co-Founder and COO of Cutting Edger is providing Post Production Image Editing, 3D Modeling and Rendering, Desktop Publishing and Digital Products like Web Design and Development, Software Development, etc.